
This easy DIY will save you hours of winter morning frustration.
If you have ever parented through a winter before, you know the scene I am about to set far too well: It’s 8:15 on a Tuesday morning. You have just spent the better part of two hours waking, re-waking, attempting to dress, and then trying to force-feed a nutritious meal down your darling children’s throat. After mentally giving up, you hand each kid a bagel because you are now running 15 minutes late. Then you face your biggest challenge yet:
Finding your kids’ f*^%ing mittens.
Although you have a special cubby for each kid, labelled and easily accessible, the mittens are never really there. They last about 24 hours after you purchase them from the store and then they magically disappear. It’s the same situation with socks. It makes no sense and yet it is the strife felt by every parent who has ever faced a winter.
While we cannot solve all your winter parenting problems (looking at you, snow pants), here at PLN we have come up with a parenting hack to try and save you some precious mental energy in the morning. Instead of searching for those mittens, spend a few minutes on this simple project to guarantee their safekeeping.
For this DIY you will need:
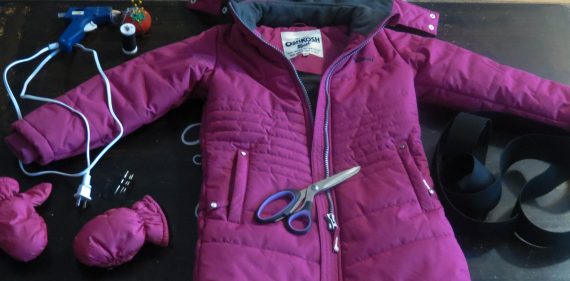
About a metre of wide elastic. You can measure how much you need from your child’s coat.
Black thread (get the good stuff at the fabric store)
Scissors
Needle
Hot glue gun and glue
Sewing machine—optional (you can sew this by hand, but I was simply far too lazy)
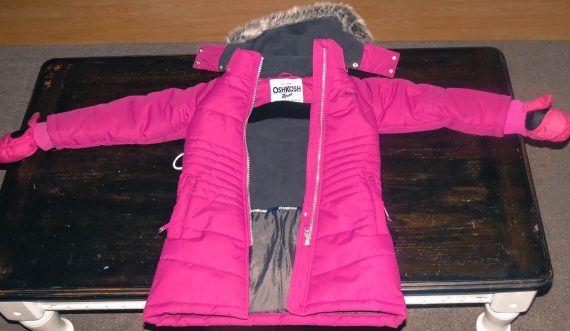
Step 1
Place your child’s coat down on a flat surface and measure the amount of elastic you will need along the arms. You can always ask the associates at the fabric store to help.
Step 2
Cut the elastic to size.
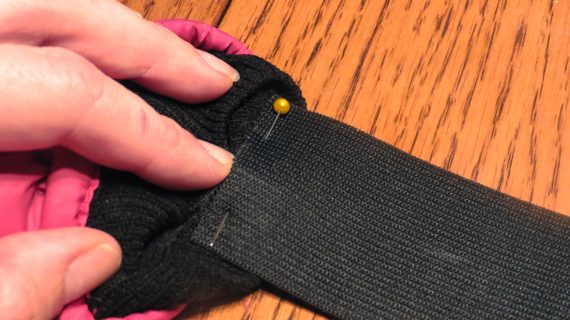
Step 3
Pin the elastic on the back of each mitten. Take your time to make sure that the thumbs are pointing the right way. Pin at the edge closest to the actual mitten to give you lots of room to sew.
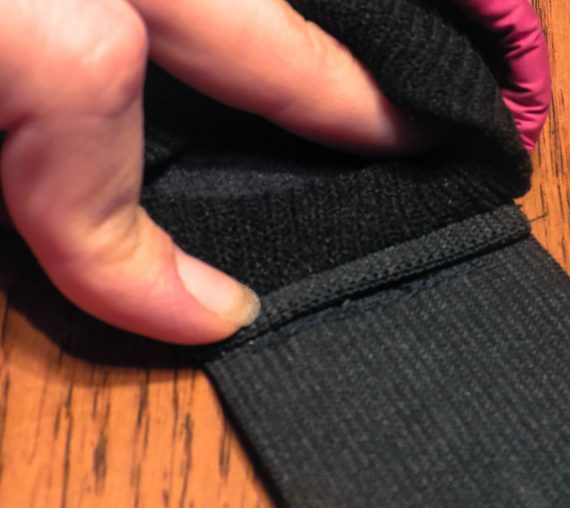
Step 4
Sew a straight stitch back and forth along the middle of the mitten several times to ensure it will not come loose with wear and tear. No idea how to sew? Check out this handy video.
Step 5
You should now have an annoying little bit of elastic left over. Fold it twice, glueing it with the hot glue gun with each fold to make a nice clean edge.
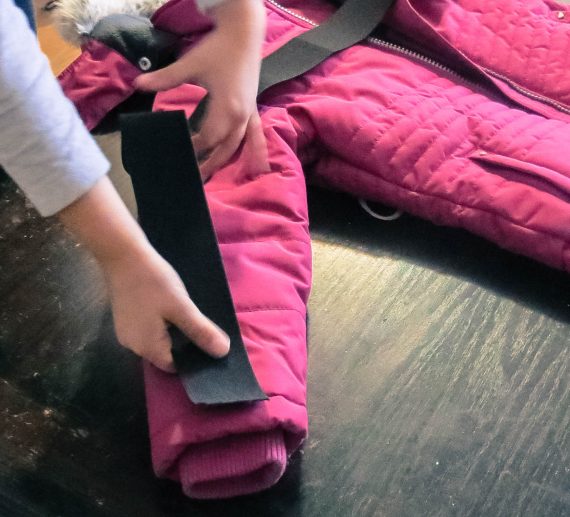
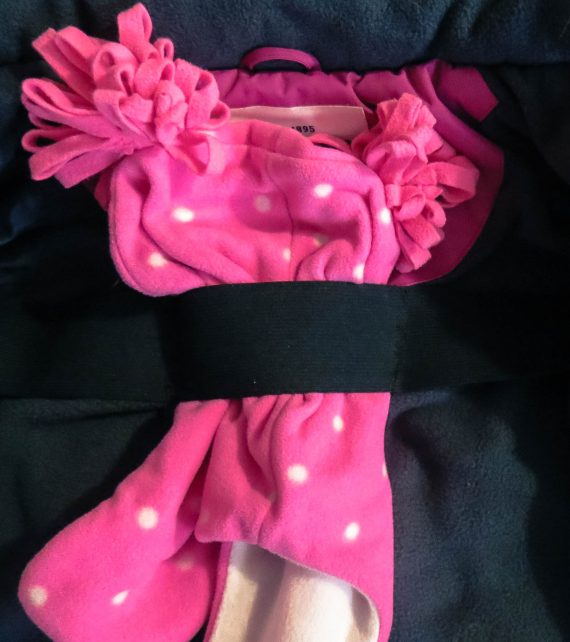
Step 6
Now push your mitten creation through the sleeves of your child’s coat, making sure that the thumbs are pointing the right way.
Step 7
Place two pins in the elastic about five inches apart in the middle of the coat.
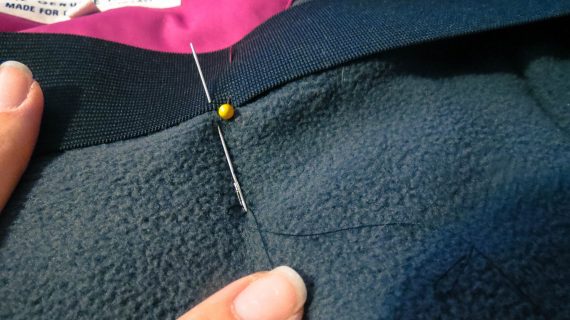
Using a needle and thread, sew a vertical straight stitch up and down where you have placed the pins to create a small opening.
By doing this, you are ensuring that the coat is safe from any possible strangulation and you have created a perfect little nook to put a winter hat. Do not push the needle through to the outside of the coat. Just grab the inner lining to avoid any stitching on the outside.
You can also check out our video tutorial here.
Now enjoy, PLNers! Instead of searching for those mittens in the morning, you can take some time to actually pour yourself a cup of coffee and recover from the morning rush. Let us know if you liked this DIY and what projects we should try next!
*Opinions expressed are those of the author, and not necessarily those of Parent Life Network or their partners.
Melissa Robertson
Melissa Robertson divides her time between her three daughters and writing for the Parent Life Network. In her 'spare time' she loves to be a total control freak while attempting to do crafts with her girls.

 Sponsored