Fall has arrived, there’s a nip in the air and we’re feeling all the cozy fall nesting feels. Here’s a cute fall wreath craft project to do with your kids to welcome fall and decorate your home for the new season.
For many, including myself, Fall is the most amazing season of the year. The colours, the crisp air and the slightly musty scent of nature around us getting ready for winter makes me feel alive, as well as a bit nostalgic.
When I was a young child, I was excited about going back to school. Yes, I was one of those kids. However, I had a good reason for it. The crafts that we did during the art classes were so much fun. Inevitably, with the Fall season, they included either colouring or cutting out leaves. I loved it all!
Fast forward a few decades, and I’m back to enjoying the crafts of the season. Although, this time, my son is my little helper. Given that he’s finally starting to somewhat understand concepts such as seasons at two-and-a-half years old, it’s the perfect time to make this simple leaf wreath. It’s also the ideal time to teach him basic crafts as well as talk about why the leaves change, in simple terms.
What I like about this indoor wreath is that not only do you get to spend time crafting it together, but as a parent you don’t need to be cleaning up dried, flaking leaves. It also becomes a memento of time spent together. It doesn’t have to look perfect – it is a reminder of a shared activity, and a good time had together.
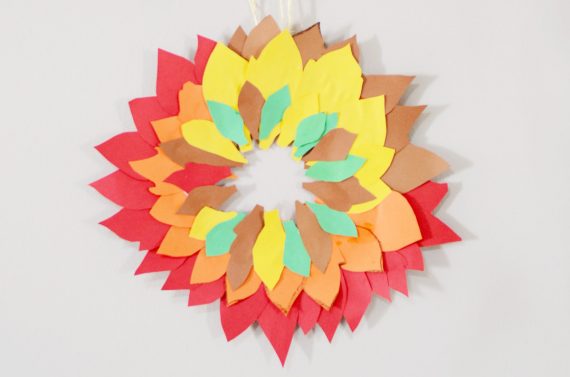
Supplies You’ll Need
All items that you need can be easily found at all major stores. As well, you can recycle an old cardboard box for the wreath backer.
- Crayons
- Construction paper in various colours
- Cardboard box
- Pencil or pen
- Plates in two sizes
- Scissors
- Box cutter
- Glue
- String
How To Get Started
For this wreath, there are some things that the parent needs to prepare, as the steps involve sharp cutters. I made the wreath backing in advance to reduce the chance of little hands grabbing at the cutters.
- Cut out a large piece of cardboard from a box.
- Use a large plate to make an outline of the outer edge of the wreath.
- Use a smaller bowl or plate to make the outline of the inner circle of the wreath.
- Using scissors, cut out the outside circle. Use box cutters for the remaining inside portion. You now have your wreath backer!
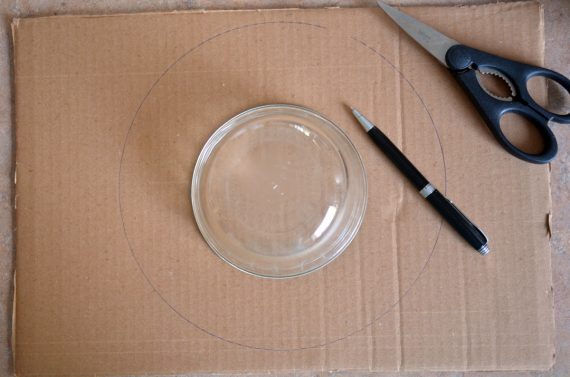
Making The Leaves
For this part, you need your little assistant(s) to help out!
- Draw the outlines of leaves on a piece of cardboard paper. They can be various shapes and sizes.
- Use Fall coloured construction paper – brown, yellow, red. Even some green as some leaves don’t change so fast, and it just makes for a very colourful wreath.
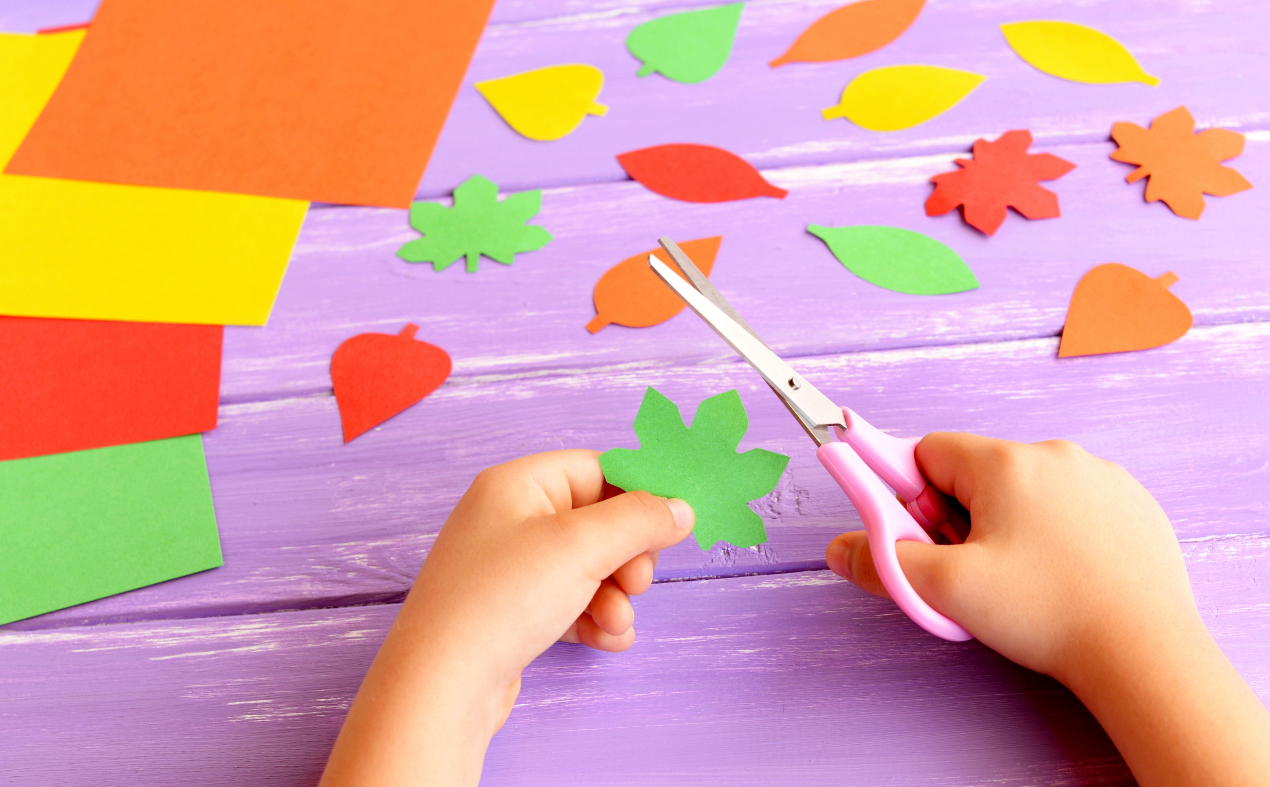
- Cut the leaves. If you have a small child not used to using scissors, keep them occupied by having them colour in the leaves you draw on a piece of construction paper. For the toddlers, it’s more scribbles than colouring.
- Nevertheless, they feel special for being your helper. This is also a great time to practice colours!
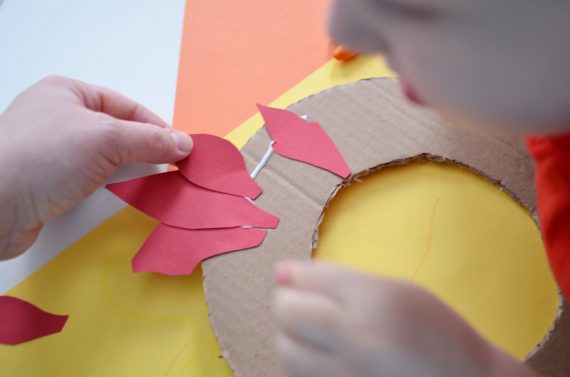
Making the Wreath
If your child is young like mine, you may want to get started on the wreath part as soon as you have a couple leaves cut out. This is because little kids have limited bandwidth when it comes to crafting, and this wreath can take a bit of time. You may have to finish it off on your own.
- Make a hole in your wreath and thread through the string at the desired length for it to hang.
- Using white craft glue, paste the stems of larger leaves along the middle of the wreath backer.
- Once you have a few glued on, take medium sized leaves and glue them closer to the centre of the wreath backer, overtop of the first layer.
- Finally, take the smallest leaves and glue them around the inside of the wreath.
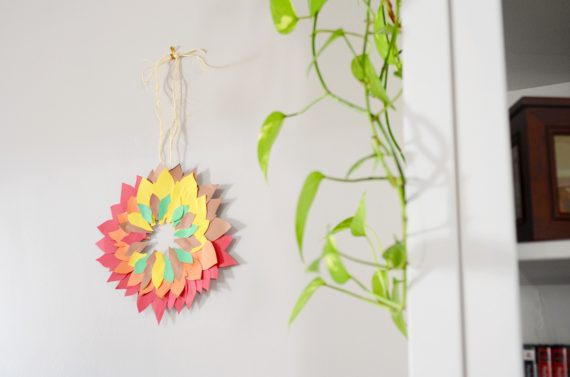 Voila! A simple, fun, colourful wreath that you can make with your kids that’s festive but doesn’t leave a mess inside the home.
*Opinions expressed are those of the author, and not necessarily those of Parent Life Network or their partners.



 Sponsored


