Love it or hate it, working with glitter can have an amazing payoff. Our resident Blog Editor decided to take the plunge to give PLN a step-by-step guide to designing a wall perfect for any nursery, bedroom or anywhere that needs a little sparkle.
I love sparkle. From the moment I first spotted glitter walls during my late night Pinterest scroll I knew I needed to do this in my own home. The question was where, and more importantly, how the heck do I do it?
After many hours crawling around the web, I was no closer to my answer. I could buy glitter wallpaper, which I really didn’t want to do or I could try and buy glitter paint, which was sold out everywhere. As I am a keen DIYer, I decided I would just fake my way through and hope for the best. Luckily, I am very pleased with the results and happy to share my method with our PLN audience.
Setting the scene
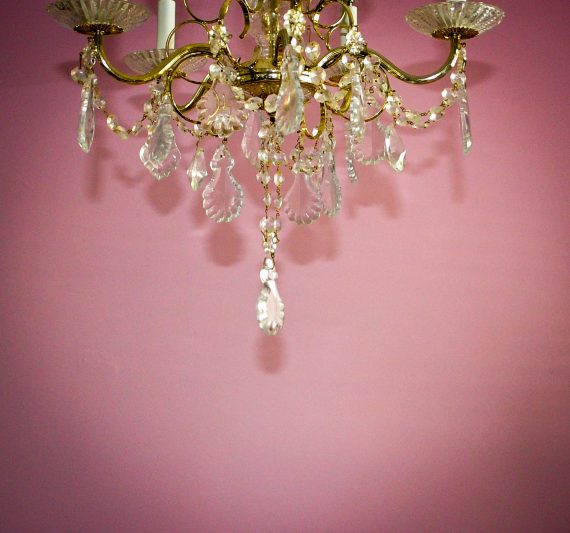
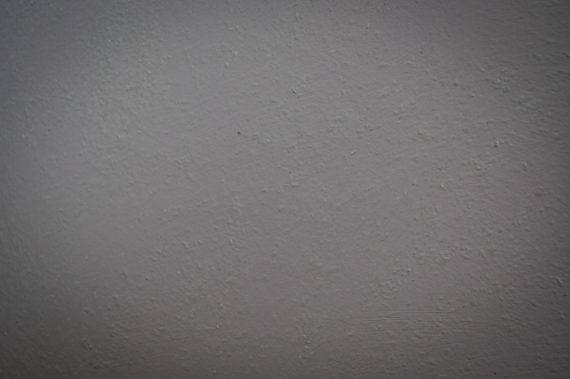
I decided the best way to incorporate a glitter wall into my home was to do a feature wall in my daughter’s room. In a neutral grey room, I painted one wall with two coats of Air Kiss by Disney.
While Disney makes their own Glitter Paint, it has been sold out everywhere for a long time. I decided to make my own mix using their Confetti Paint and my own loose glitter. I knew that I wanted the pink to show through on the wall so I choose white, iridescent pearl and pink glitter to add to my paint. I did not want to use silver or gold as I was concerned it would change the colour of the wall.
Mix it up

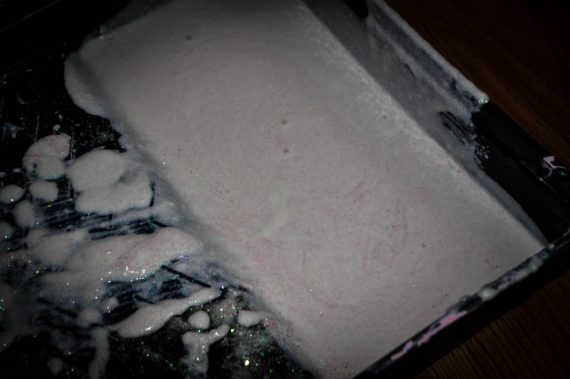
I poured the entire can of paint into the tray to mix. I wanted to make sure that the application was as even as possible. I added glitter until my mix was the texture of Cream of Wheat. I kept out a paint stick so that I could stir as I painted to keep the glitter from settling at the bottom of the tray.
Put it on
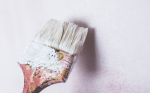
When I started my project, I made the mistake of trying to put my glitter on the wall with a roller. It ended up splashing everywhere and going on unevenly. The best trick to getting the glitter paint to go on evenly is to use a brush and spread the mixture around in X strokes. When it goes on the wall it appears white but will dry clear.
The end result

I am extremely happy with the end result. Although there is a little bit of texture on the wall, it’s not so much that you wouldn’t be able to paint over it if you ever changed your mind. While the end result is subtle, it was what I was going for. For a much more dramatic effect, you could simply add another coat.
Make sure to follow the Parent Life Network on Pinterest for more great DIY projects and room inspirations.
*Opinions expressed are those of the author, and not necessarily those of Parent Life Network or their partners.
Melissa Robertson
Melissa Robertson divides her time between her three daughters and writing for the Parent Life Network. In her 'spare time' she loves to be a total control freak while attempting to do crafts with her girls.

 Sponsored