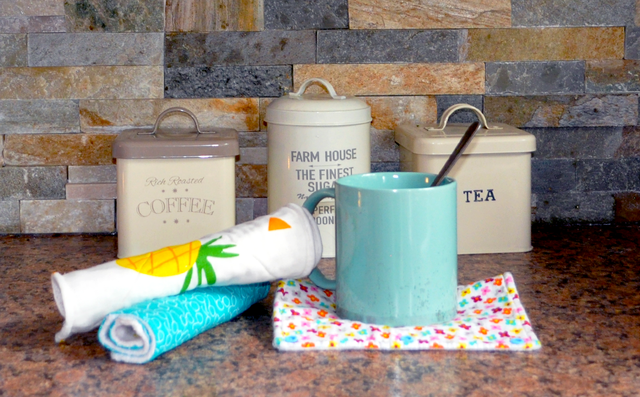
Save money and the environment with these super cute (and easy) ‘unpaper’ paper towels. Our resident DIYer (and Frugal Mom) shares her easy tutorial with PLN.
If you are anything like me, you hate wasting your hard earned money. While I love having children, they are inherently messy beings. My kids can spill more drinks and make more crumbs in one meal than I thought humanly possible. If I didn’t own a dog, I think I would spend every waking moment sweeping and washing my floor.
Paper towels seem to be an inevitable purchase during every grocery shop. Not only are the darn things expensive, but it seems that my family can burn through a roll a day (two if we are having any type of frozen dessert).
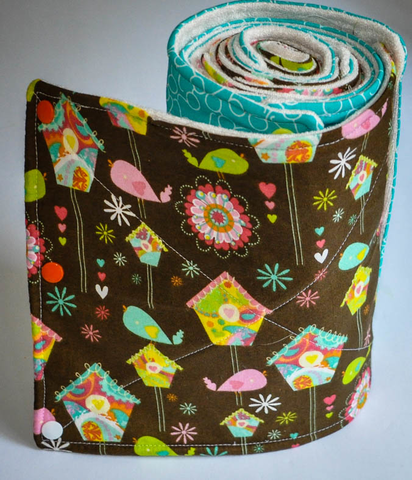
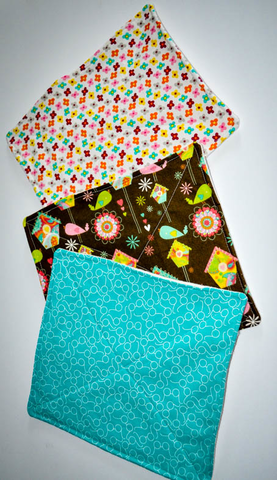
I finally put my frugal foot down and decided to try and make my own reusable towels. Not only was this project super easy, inexpensive and fun, but they are also way cuter than plain white towels!
All you need to make 12 ‘unpaper’ towels
- ¾ meter (yard) of two types of fabric-one terry cloth (You can upcycle old towels!) to absorb and one decorative cotton or flannel
- Sewing machine (you can hand sew but it will likely make you hate this project as it would take forever to sew these by hand
- Thread
- Scissors
- Pins
- Plastic snaps and snap machine (optional but really takes this to the next level)
Step 1
Use a paper towel to guide you as the proper size for your towel. I used fat quarters (quarter meter) cotton folded in half twice (four separate sections of fabric) to achieve this size.
Then repeat this process to cut sections for your terry cloth or towel material
Step 2
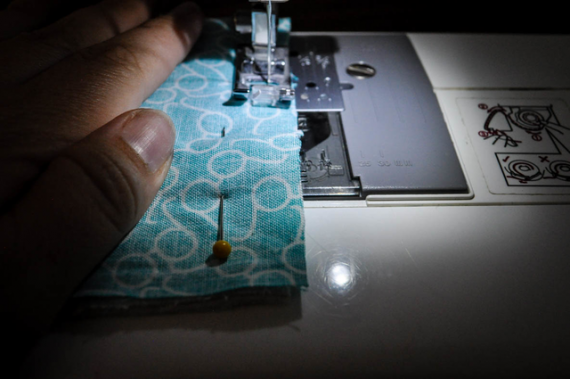
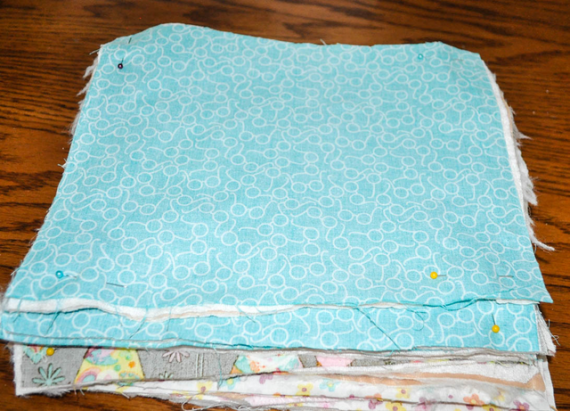
Once you have cut out all your fabric, put the good sides of the material facing each other and the bad sides facing out and pin them in place.
Step 3
Mark an area where you will leave unsewn to allow you to turn right side out once sewn.
Step 4
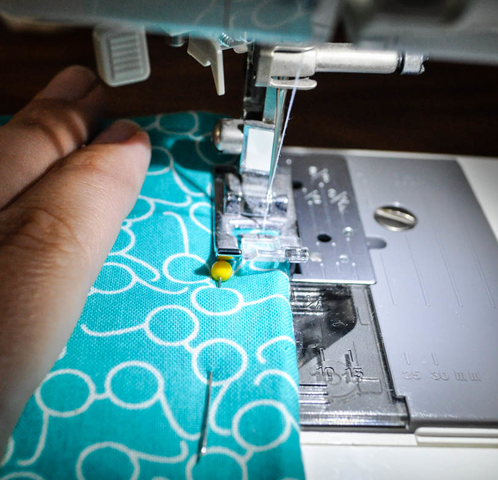
Sew all around the fabric (make sure to leave a gap to turn inside out). Make sure to do a couple back stitches when starting and stopping your stitches for strength.
Step 5
Turn the fabric inside out so the good sides are facing out. You can iron your fabric to keep all the seams clean.
Step 6
Top stitch all around your towel making sure to close up your gap. Then you want to sew an “X” in the towel. This will keep your towel from bunching up in the washer or dryer.
Step 7
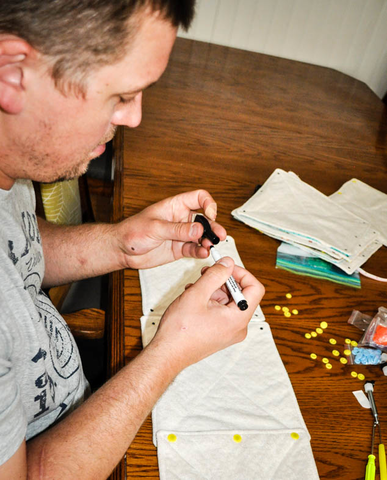
If you want to include snaps on your towel (which really makes it fun) you can follow this ‘how-to’ video. At this point I got frustrated and my husband had to take over. The most important thing to do when adding the snaps is to keep the towels in front of you so you can make sure you are adding the right snaps to the right sides.
Step 8
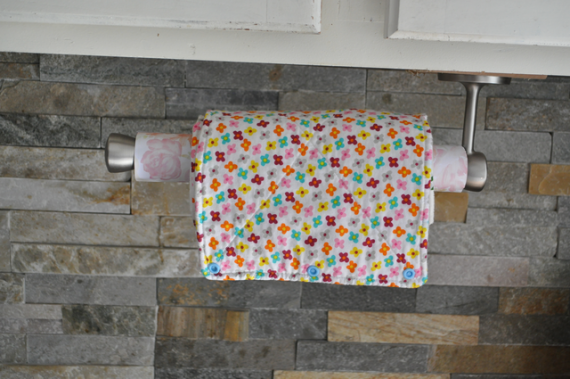
If you want to be able to put your towels on a paper towel holder, you will need to put them on an empty paper towel roll. I used Mod Podge to add decorative paper on mine to keep it all looking super cute!
Did you enjoy this tutorial? Make sure to follow us on Pinterest for more DIY fun!
*Opinions expressed are those of the author, and not necessarily those of Parent Life Network or their partners.


 Sponsored


